PCA Articles
How to Finish Doors Like a Pro!
Over the last 16 years, I’ve had the opportunity to finish a lot of doors. With a lot of practice and patience, I’ve reached a point where I can confidently handle any type of door and any size door package and feel good about the end result. I am going to share with you how I prep and finish stain grade doors in the following steps below. Hopefully it will be a benefit to those who read it and apply some or all of my techniques.
- prep a pre-hung door
- apply stain
- ensure proper coverage
- pack your doors
Prep:
Always wear gloves while handling stain grade doors. The oils from your hands can and will penetrate the wood and possibly lead to defects in your finish.
1. Doors are typically delivered pre-hung so the first step to prep is to pull the slab from the jamb by removing all the hinges from both the jamb and the slab.
2. When doing multiple doors it is always a good idea to number your jambs to slabs. We use a permanent marker and write corresponding numbers in the middle hinge spot on both the jamb and slab. For example, jamb 1/slab 1, jamb 2/slab 2 and so on.
3. Pull door stops (the little pieces that catch the slab from opening both directions) from the jambs. We are usually able to pull stops off by hand, but sometimes we have to use a five way and pry them off. If you do have to use a tool of some sort, make sure to protect the wood with a rag or cardboard when prying. Once the stops are removed, remove all pin nails from either the stops and/or jambs.
4. Sand all stops, jambs, and slabs. For sanding of stops and jambs we use 3M (Fine Grit) sanding blocks and sand in the same direction as the grain of the wood. For sanding the slabs we use a combination of sanding blocks and a Festool orbital sander/vacuum system. We typically use 180 grit sanding discs on the slabs. Sometimes we will use 120 grit if there is a bad blemish and then follow it up with 180 grit for a final sand. The Festool is great because the vacuum sucks up all the saw dust and helps to avoid swirl marks in the slabs.
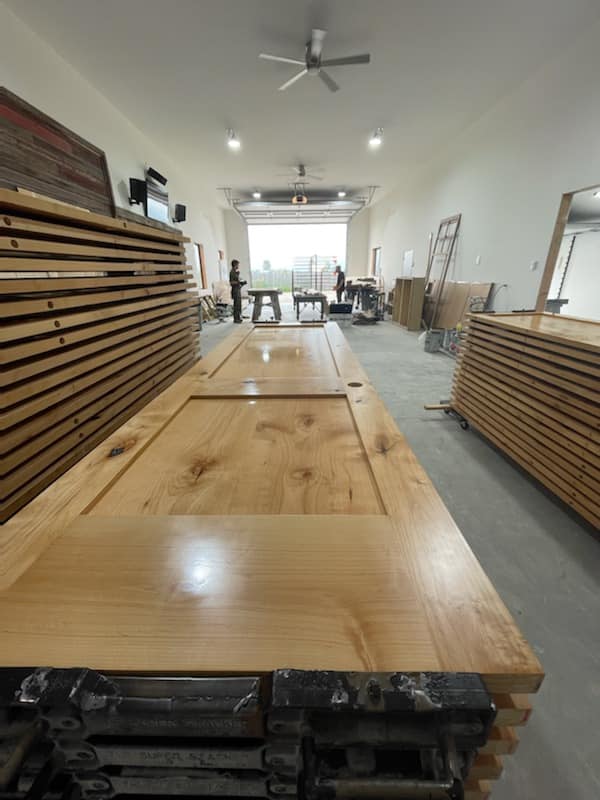
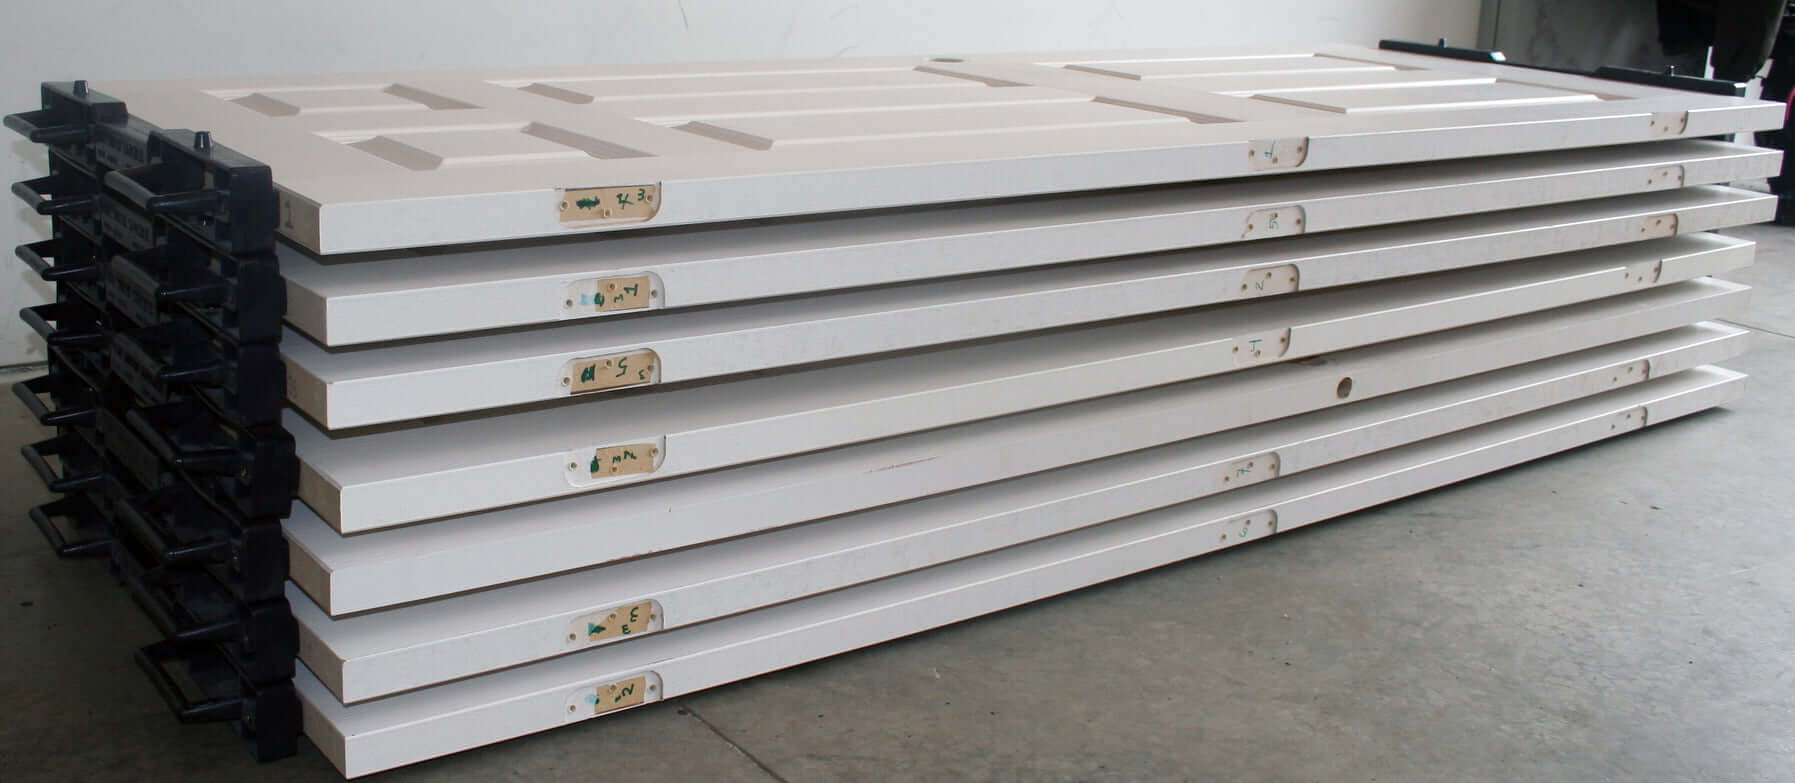
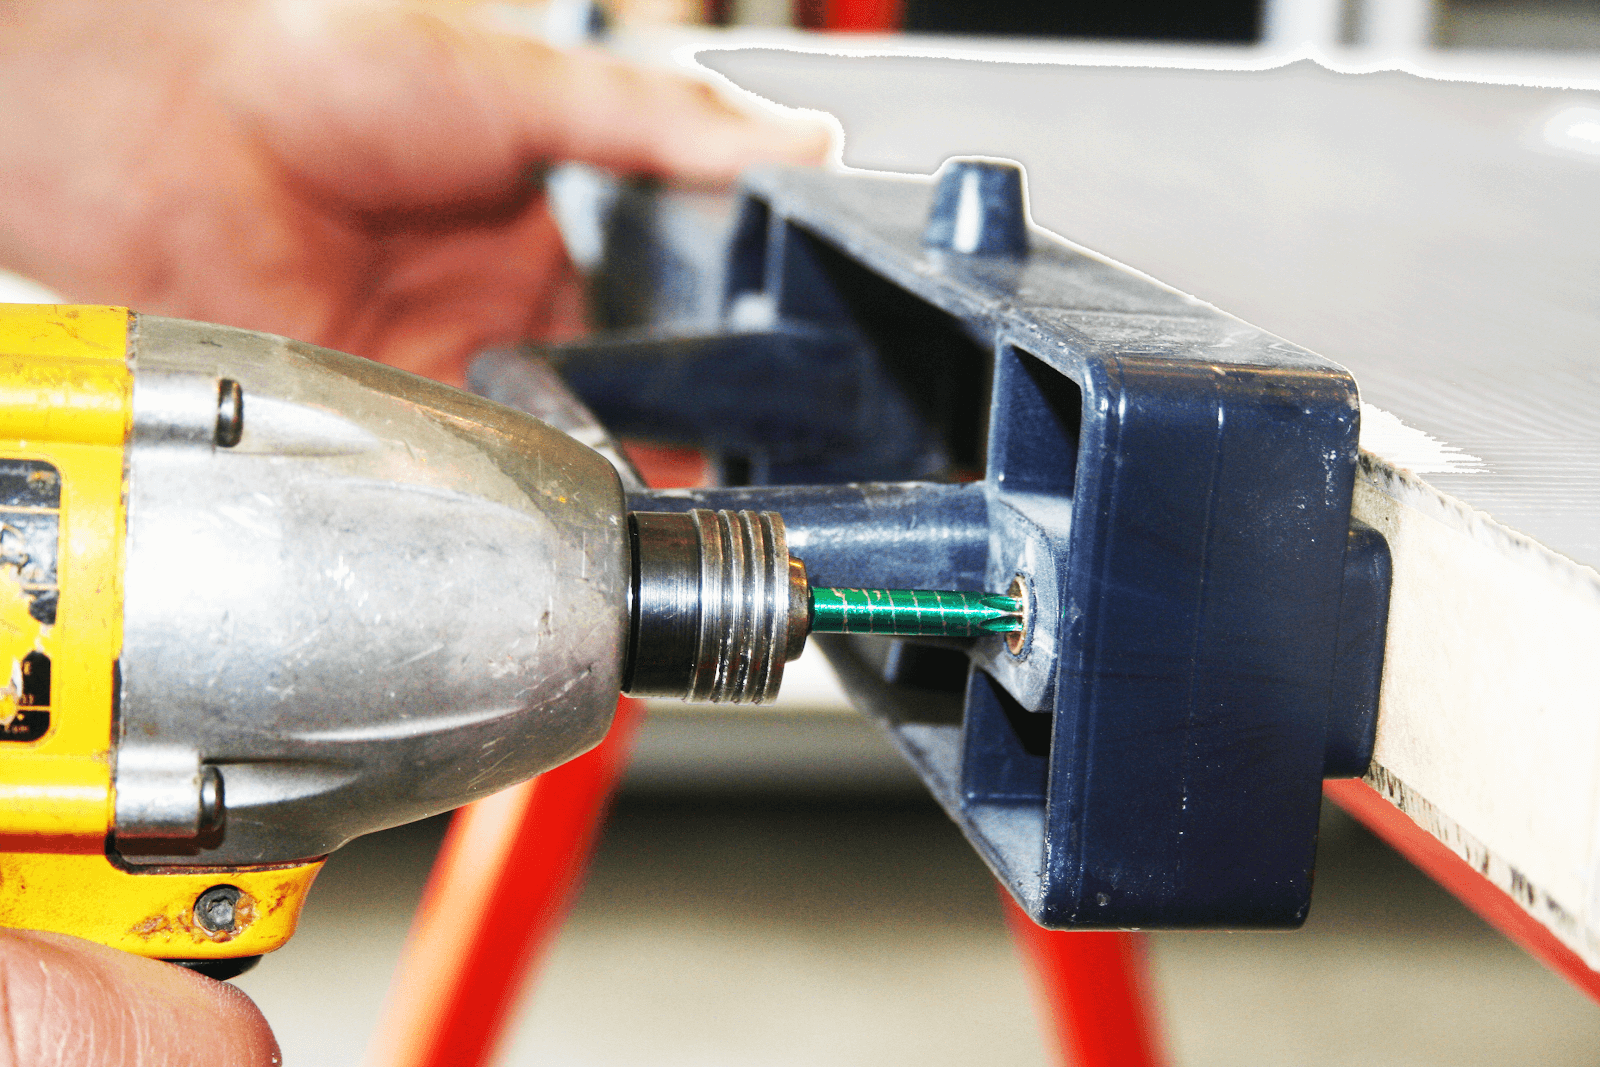
5. Attach a Super Stacker to the bottom and top end of the slabs. Fore more information about this product and how to take advantage of them, visit www.doorfinishing.com
Stain:
1. Make sure your stain is mixed/stirred up very well and that all pigment is off the bottom of the can. Pour off the stain into a paint/stain tray.
2. To apply the stain we use a stain applicator that is typically used for deck staining. It has a handle and replaceable pad and is anywhere from 6″ to 10″ wide. Shurline is our go to brand for stain applicators, but there are a lot of brands that will work. Dip your applicator in the stain and apply it to the entire slab, jamb, and/or stop. Once you have stained one side and both edges of the slab you are currently working on, back wipe all the stain and make sure not to leave any rag marks. We use an air compressor after back wiping to make sure there isn’t any excess stain that has seeped into cracks and crevasses that might leak out later. After blowing out excess stain, we back wipe again and then we flip the doors, using Super Stackers and repeat the process on the other side of the slab. We start with our slabs and stain all of them and then move onto the jambs and stops later.
3. Once everything is stained and back wiped, we allow everything to dry overnight and start the clear coating process the next day.
Clear Coat:

1. We clear coat almost all of our stain grade materials with a Pre Catalyzed lacquer using an airless sprayer. That being said, a lot of people prefer a polyurethane finish or a brush-on product of some kind and those work too. We just choose to use lacquer. Whatever product you choose and whatever way you choose to apply it, make sure to get the right amount of coverage per coat. You can ensure proper coverage by consulting the manufacturer’s guide.
2. Apply the recommended millage of the clear coat to one side and one edge of the door. Flip the door using Super Stackers and apply a clear coat to the other side and edge.
3. After your first coat of clear has dried as long as recommended, sand your doors using a 3M Fine sanding sponge, making sure to get all areas and profiles of the door. Wipe the door down with a clean rag and blow off the entire door with an air hose to ensure that there is no debris or dust left behind.
4. Repeat steps 2 and 3 as many times as you see fit. I usually apply two coats of clear, but some people apply 3 or 4 coats. It all depends on how thick you can apply your clear coat and the recommended amounts of coats. Using Super Stackers you are able to apply heavier coats because you finish and stack your doors horizontally and you don’t have to worry about runs.
Packaging
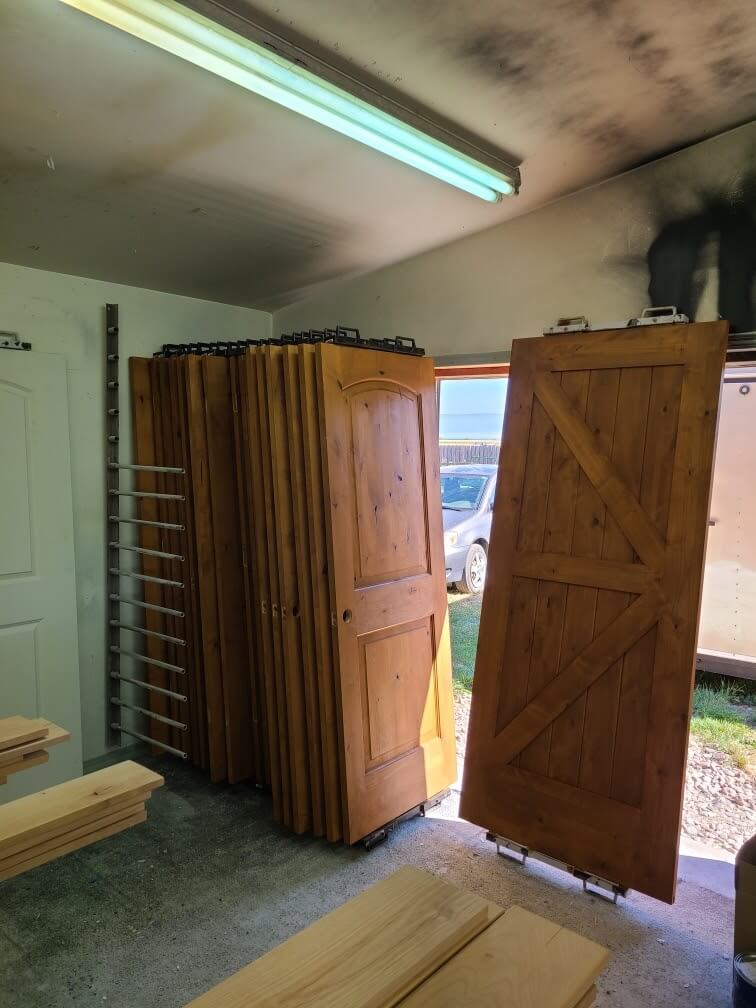
1. Once your doors are fully cured, remove Super Stackers from the tops and bottoms.
2. Door manufacturers require that you seal all six sides of your doors for warranty purposes. Once I have removed Super Stackers, I will take the same stain I used on the doors and use that to seal the tops and bottoms. I use a sponge and apply the stain and then back wipe any excess.
3. We then use foam (sill seal) and plastic twine to protect corners at the top and bottom of doors. This way you can transport the doors without them actually touching one another.
Thank you for taking the time to read this and I hope it will help you with future door projects. For more information or questions, feel free to email me anytime at info@doorfinishing.com.