PCA Articles
How to Take Professional Photos of Your Work and Why it Matters for Painters
You’ve done the high quality work, now it’s time to make sure the images you capture reflect that! Whether it’s content for your website, Facebook Business Page, Google My Business Listing or physical advertising materials, it’s crucial to have photos that demonstrate your best work and help potential clients feel comfortable hiring you.
Studies have shown that 65% of the population are visual learners, which means that 65% of people are more likely to absorb information about your business and the services you offer if you appeal to them using images instead of just text. The famous saying that “a picture is worth a thousand words” couldn’t be more true in today’s digital age. However, not all images are made equal. You want to be sure that the photos you post are sending the right message about your business and the quality of service you provide. Professional photos help to set you apart in competitive markets and could even help you reach new market shares as it’s been shown that Facebook posts with images get 2x more engagement.
Don’t worry if you’re not a photography pro yet or don’t have formal training in how to navigate fancy camera equipment. Just follow these quick tips and tricks and you’ll be taking professional quality photos in no time.
Planning and consistency
In order to make the most of your time and create the brand image that you want, it is critical to put some thought into planning the logistics of your shoot. You certainly wouldn’t want to show up to a job site that is only half complete hoping to showcase your best work, and conversely you wouldn’t want to wait months after completing a painting job after a harsh winter to document it. A good way to start is by asking yourself the following questions and then planning accordingly.
What brand image are you hoping to showcase with these photos?
- Our recommendation: Emphasis on high end work, family owned business, local area, etc.
- Our recommendation: A team photo or headshots of the owner(s) can help build trust and make your business standout
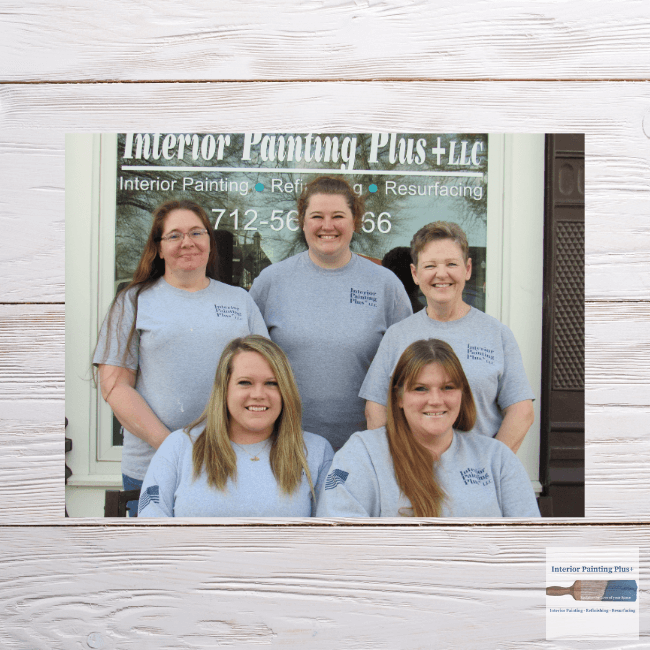
Example best practice team shot image from the team at Interior Painting Plus
Depending on how local your business is, you can instill a great sense of trust with your customers if you include photos of your family in addition to team members. At the end of the day your customers are allowing a stranger into their home in most cases when it comes to painters. Showing family or friends helps to showcase that you are trustworthy and may even give the customer something to relate to you on a more personal level.
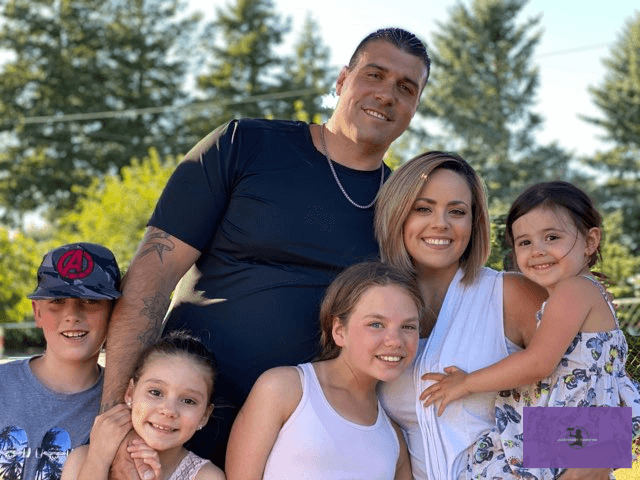
Example best practice family photo from Shaun Temple and his family at Legendary Painting
Is there a drastic Before & After shots you can convey?
- Our recommendation: Before and After shots are incredible – make sure to take the picture from the same angle and if possible take the after shot on a sunny day or with bright lighting if indoors. If you need a tool to stitch the photos together you can work with the team at ProPhone or use a tool like Canva.
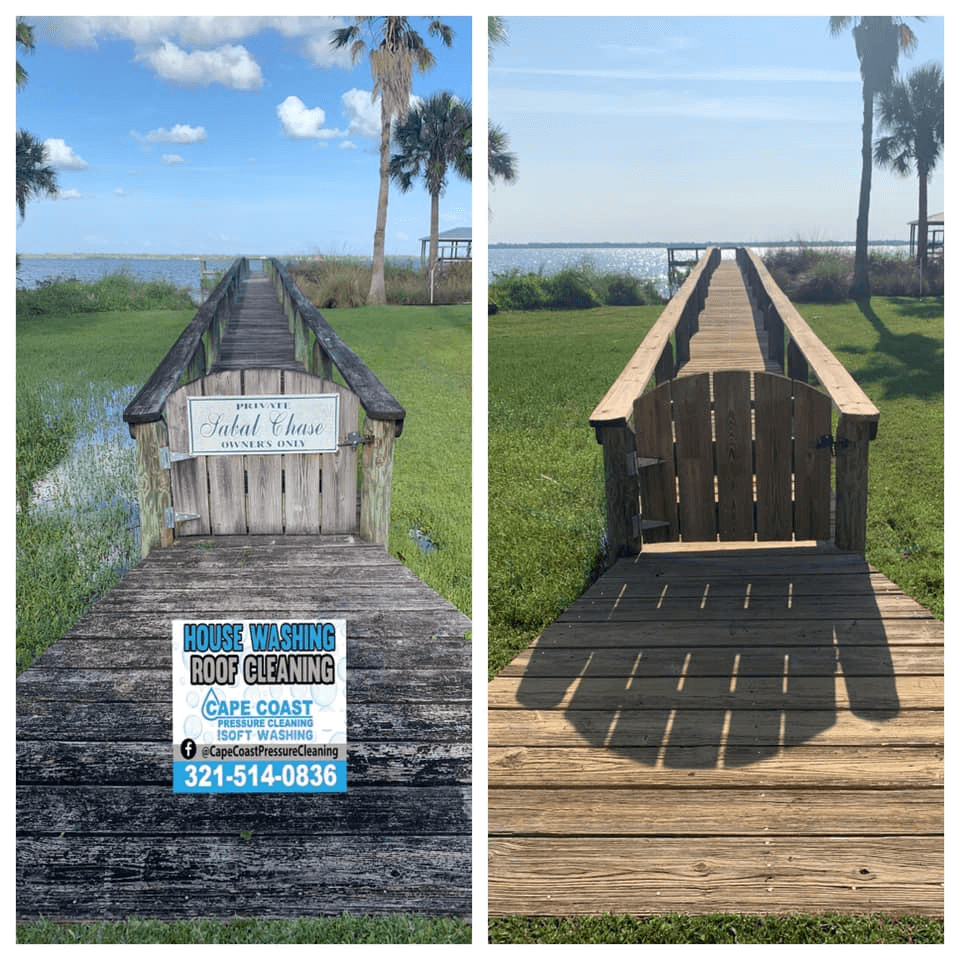
Example best practice before and after shot from the team at Cape Coast Cleaning
What time of year is best to take photos?
- Our recommendation: It can help to have pictures from all seasons so customers know that you provide work year round. However, try to stack more photos when the setting is best. For outdoor painting, for example, it won’t look as impressive in the dead of winter as during a blooming spring/summer with a blue sky background
Once you understand the objectives of what you want to capture and who you will need to coordinate with, it is important to stay consistent with your photo goals. If you consistently take photos through your various jobs, you will have more material to choose from and likely more diverse images than if you had simply brought a camera with you for only one weekend. If you write down a running list of projects that you would like to capture and schedule time to do so, you are more likely to get it done.
The elements of the shot
1. Focus on what’s important
Our first technical tip for capturing beautiful and professional images is to choose a focal point for your image. This focal point is where you would like to direct the viewer’s gaze and helps to create a clean cut image. This focal point doesn’t always need to be in the center of the photo. For example, in the photo below, the focal point of the image is the left side of the photo top cabinets as the light is brightest. This helps the viewer to focus on the cabinet paint job vs. the floor or appliances.

Example best practice focal point shot image from the team at Interior Painting Plus
2. Leading lines
As we have also discovered with the photo above, lines within the frame, such as the edge of the countertop to direct viewers gaze to where you want it to go. You can emphasise the focal point of your image by using naturally occurring lines such as countertops, fences, banisters, roads, etc.
3. Perspective is key
Just like in life, in photography, there are countless different perspectives to choose from. Perspective refers to the vantage point from where you take the photo of your subject. The angle at which you take your photo can have an important impact on how the subject is perceived by viewers. For example, if you take a photo of a house from a crouched down position with your camera or smartphone tilted upwards, the house will appear to take up more of the frame and appear larger relative to surroundings.

Example best practice perspective from the team at Cape Coast Cleaning
4. Don’t forget depth
Have your photos felt “flat” or lifeless in the past? You may have been lacking an element of depth in your work. We’re not talking about depth as in how well you can carry a conversation we’re referring to the intentional use of foreground, middle ground, and background in your photos. Instead of taking a photo of just a freshly painted wall, try to take the photo so that the wall is positioned in relation to the space.
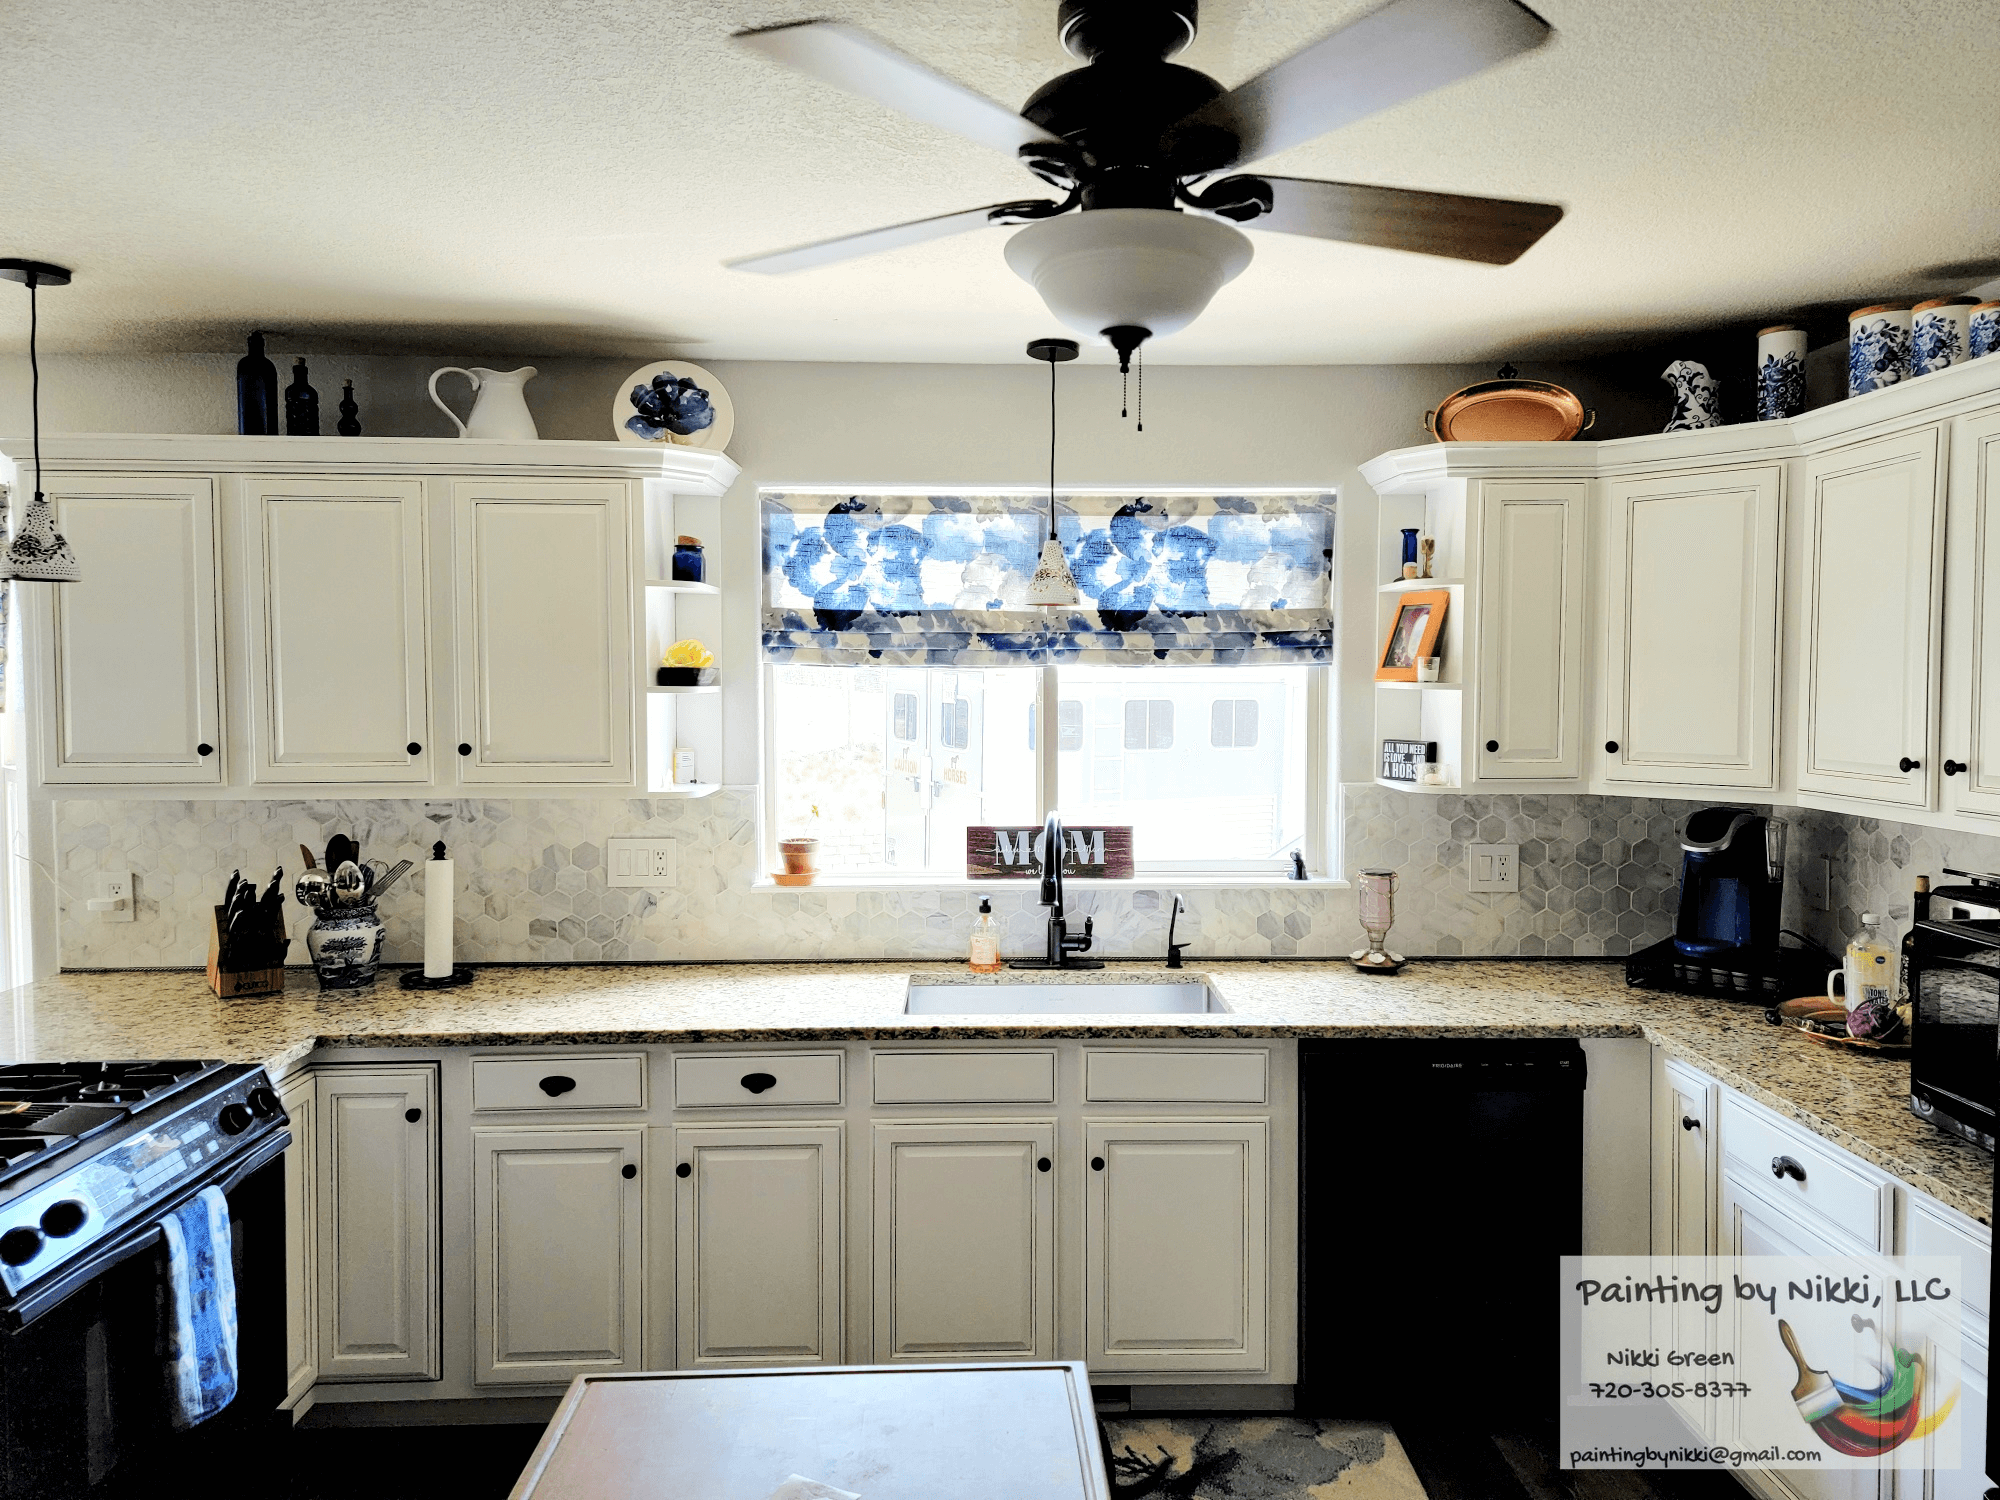
5. Rule of Thirds
The rule of thirds is a general guide for composition of your images. The rule of thirds divides your image frame up into a 3×3 grid with two vertical and two horizontal lines (see below). According to the rule of thirds, you should place your subject on one of the two vertical lines, keeping the main focal point in the right or left third of your image. It is a myth that you want the center of a shot to be the primary focal point. Notice in the photo below that the background wall behind the photos to the right third of the image jumps out as a focal point vs. positioning the imagery in the center.
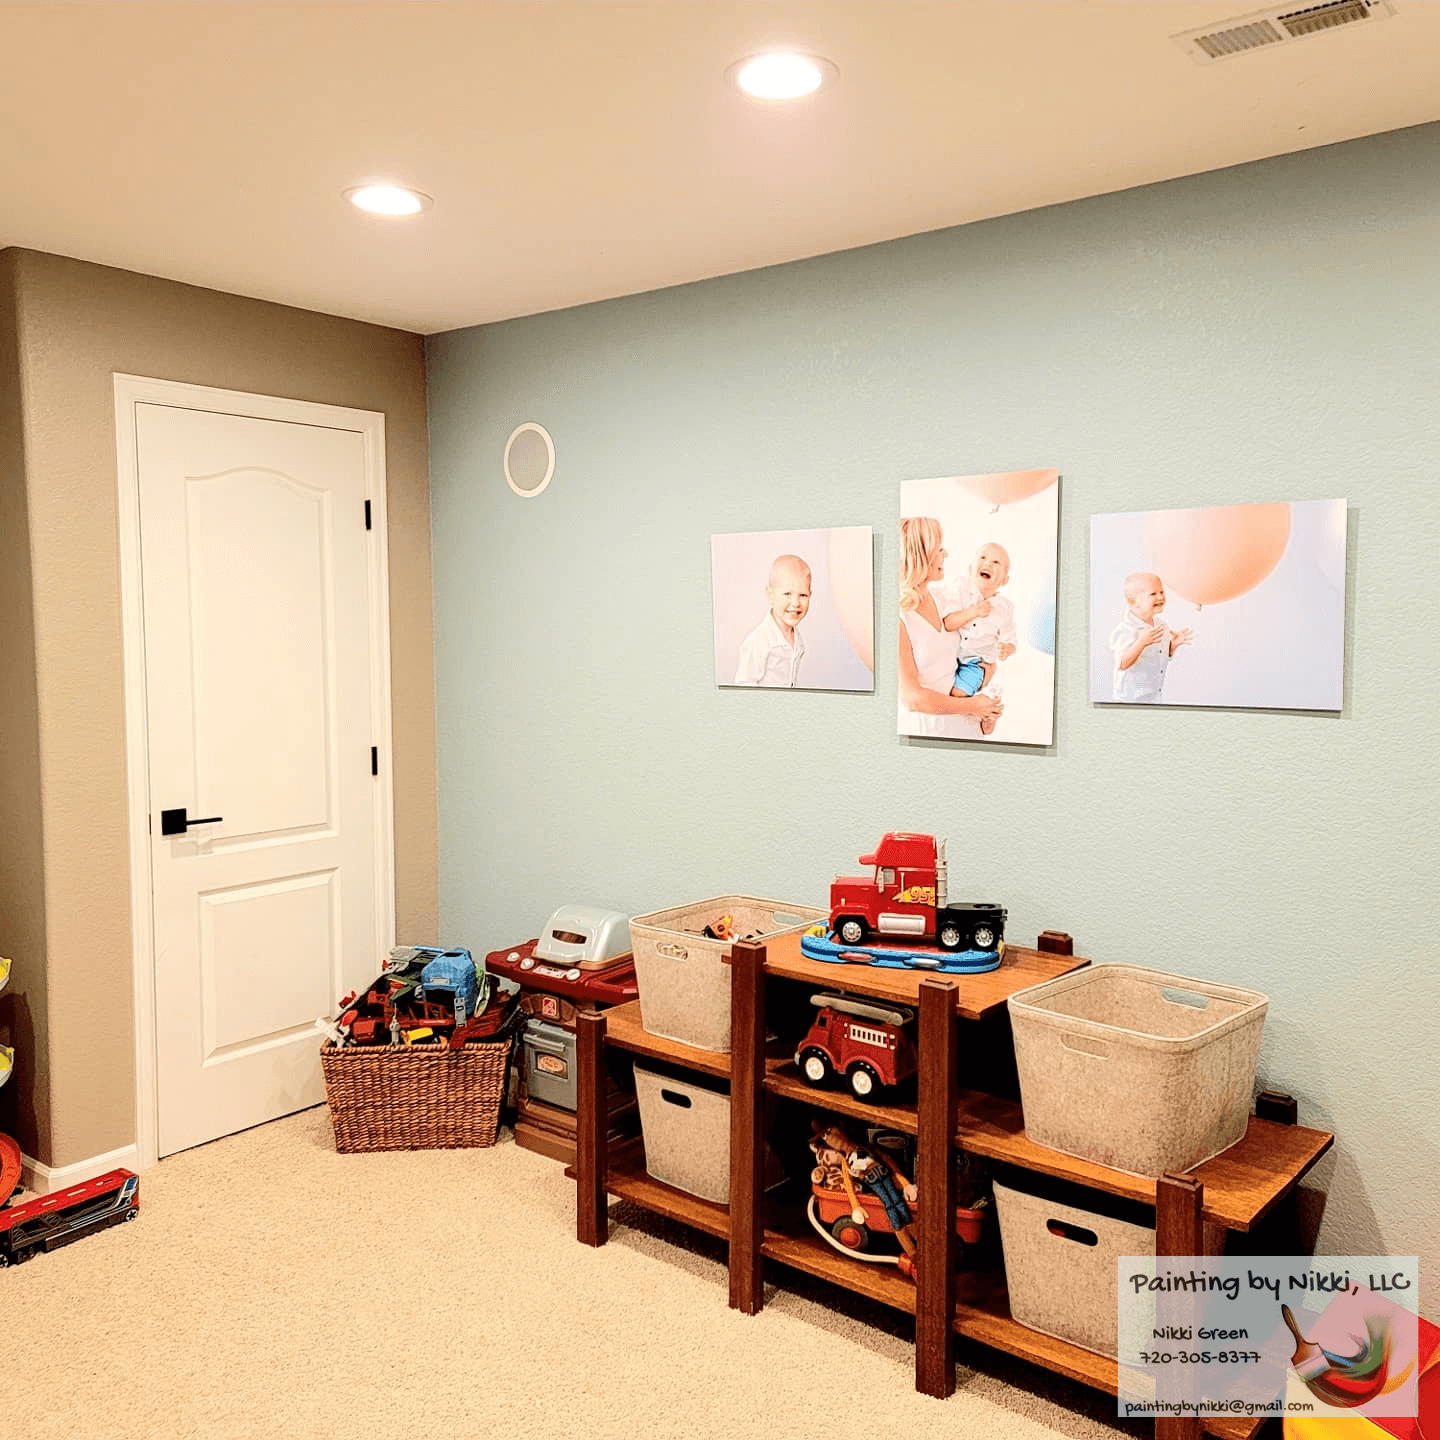
Example best practice rule of thirds shot image from the team at Painting by Nikki
Lighting
An important aspect of making sure your photos represent the best of your work is having the proper lighting. The best way to capture a beautiful image without spending tons and dealing with the hassle of professional lighting equipment is to be mindful of the time of day that you take your photos. While midday may look appealing to the naked eye, it is usually one of the worst times for detailed outdoor photography because of the bright glare of the light (however, there are exceptions to this rule which we will cover). This can cause harsh shadows on your subject and appear to wash out the colors of the scene.
Instead, try shooting your outdoor content, before dusk when lighting is less harsh and your subject is still clearly visible. For photos of houses in their entirety though, you will want to plan your shot around when the sun will be illuminating the front of the house. Generally, this means that morning is usually a good time to shoot east facing properties, Afternoon is better for west facing properties, and between 10am and 2pm is good for north or south facing properties.
For indoor photography, times of high natural light (think midday) are usually best to capture your subject. Avoid using artificial lighting as much as possible as this can add an unnatural, and unprofessional tint to your photos. Also, for indoor photography you may need to utilize the photo editing tool on your camera or phone to brighten the image. See the same images below take with different exposure and light settings after the image through editing.
Before enhanced lighting in settings:

After enhanced lighting in settings:
Example best practice lighting enhancement image from the team at Painting by Nikki
Basic Gear can help you get pretty far
While having a nice camera is great, you can still take plenty of quality photos on your smartphone without having to worry about advanced camera settings. Though features will vary based on make and model, here are a few smartphone photography hacks to try.
Adjust Focus & Exposure
With most smartphone cameras, you can control where your lens focuses by taping the screen on the point where you would like the camera to focus. This will also create a pop up slider in both iphone and android camera apps that allow you to adjust the exposure (how much light the lens is taking in).
Use that grid
The rule of thirds has never been easier as you can now use a grid that appears directly on your smartphone screen to map out your image composition. On the android app, this will appear as a grid icon at the edge of the screen. On the iphone, you can use the grid feature by selecting it under Photos & Camera in settings.
Avoid Zoom
Using the zoom feature on your smartphone will produce photos that appear “grainy” and not as professional. Ditch zoom and instead position yourself differently with respect to the subject you are trying to capture.
Ready and steady
One piece of equipment that is both inexpensive and highly useful is a tripod. Tripods can help to capture clear and steady photos and are helpful if you want to take high quality photos with your family or your crew. You can buy tripods for your smartphone at many places such as Bestbuy, Walmart, or Lowes.
What to do if you want some above and beyond shots
Sometimes the best move is to go ahead and hire a professional for those crisp quality images. Hiring a professional photographer will alleviate the time burden of having to budget hours for shooting your work and ensures that you get the best possible photos. When hiring a photographer, it’s important to look for someone who has experience shooting interior and exterior painting specifically. A good place to start looking for photographers is at your local real estate office. They will likely have a professional they regularly work with to shoot photographs of real-estate listings. In any case, you will want to ask the Photographer for examples of their work to make sure that the quality of images they produce lines up with the goals you have for your brand’s look.
Another option for photography that sets you apart from the crowd and makes the most of recent technological advances is harnessing the power of drones for your outdoor painting photography. If you are inexperienced with flying drones, we highly suggest hiring a professional who will know how to safely use the machine and take quality shots. Using a drone can help to provide professional and modern images that will set you apart from competition. the high vantage point of drone photography will also allow potential clients a complete overview of your work as opposed to having to piece together the smaller images taken from the ground. If you are going to purchase your own drone, DJI makes powerful drones that can capture quality work.
What to do now that you have great photos:
If you are using the photos to spruce up your website, we recommend updating the photos as often as monthly. This will help show your customers that you are actively working throughout each season as well as improve your Google Search Ranking. Updating your photos has a positive SEO impact because it let’s Google know that your website is up-to-date and worth showing above outdated websites.
If you are using photos to advertise on social media we recommend following following some general guidelines for timing from Hubspot:
-
- Facebook: 9:00am or between 11:00-12:00pm on Thursday-Sunday
- Instagram: 1 p.m, and 5 p.m. on Wednesday and Friday during lunch and the end of the typical work day
- TikTok: varies more than the other platforms but generally early mornings at 6:00am or late evenings after 8pm
LinkedIn: 10:00am-12:00pm on Tuesday and Thursday
If you have any further questions you can book time with the ProPhone founding team for advice – HERE. If you have fantastic photos but are in need of a website to showcase them, checkout ProSite by ProPhone.
About the Author


The entire team at ProPhone (learn more here) is on a mission to build technology that empowers pros live better lives. We recognize the grind that goes into being a owner-operator and believe pros now need digital tools to complement physical tools for being the best they can. If you want to hear more or talk with the founders directly go here.
ProPhone Website: ProPhone.com